Ever stared at a pile of greasy camp dishes and wondered if you’d rather just eat off bark for the rest of your trip? You’re not alone. Camp food safety and cleanup are widely recognized challenges; improper dishwashing in the outdoors can lead to foodborne illness, wildlife attraction, and environmental harm, making this a key skill for any outdoor adventure. Sources like the U.S. Department of Agriculture emphasize that even seemingly clean water from natural sources isn’t safe for dishwashing, highlighting the vital role of proper hygiene in backcountry settings.
Learning how to wash dishes while camping doesn’t have to ruin your outdoor adventure. With the right system and a few tried-and-true techniques, you can tackle camp cleanup quickly and get back to enjoying nature. Plus, proper dishwashing keeps you healthy and follows Leave No Trace principles that protect our wild spaces.
Why Proper Dishwashing Matters While Camping?
Washing dishes while camping isn’t just about cleanliness; it’s a critical safety practice that can make or break your outdoor adventure. In the wilderness, where medical help might be hours or days away, proper dish hygiene becomes essential for preventing serious illness.
Preventing Foodborne Illness in Remote Areas
Dirty dishes harbor dangerous bacteria, such as E. coli, Salmonella, and Campylobacter, that multiply rapidly in warm conditions. These pathogens cause severe stomach cramps, vomiting, and diarrhea, symptoms that are miserable at home but potentially life-threatening in the backcountry. Dehydration from food poisoning can lead to heat exhaustion, hypothermia, and poor decision-making in dangerous terrain.
Cross-Contamination Prevention
Unwashed utensils and cutting boards spread bacteria between different foods. Raw meat residue on a “clean” knife can contaminate vegetables, turning a healthy meal into a health hazard. Proper washing with hot soapy water and sanitizing breaks this contamination cycle.
Wildlife Safety and Food Security
Food residue on dishes creates powerful scent trails that attract bears, raccoons, and other wildlife. Animals that associate campsites with food can become aggressive and pose a danger to future campers. Some areas require bear canisters for food storage, but dirty dishes left outside can still draw wildlife to your tent.
Long-Term Health in Extended Trips
On multi-day expeditions, poor dish hygiene compounds daily. Small amounts of bacteria build up over time, eventually overwhelming your immune system. Expedition leaders report that stomach illnesses are the number one reason people abandon long wilderness trips early.
Environmental Responsibility
Food scraps and grease from dirty dishes pollute water sources and soil. This contamination affects wildlife health and ruins pristine wilderness areas for future visitors. The Leave No Trace principle “Pack It In, Pack It Out” applies to every food particle on your dishes.
Camp Morale and Comfort
Clean dishes and utensils make meals more enjoyable and maintain group morale on challenging trips. Nothing kills the wilderness experience faster than eating from greasy, smelly cookware. Proper dishwashing keeps your gear pleasant to use and extends its lifespan.
Essential Supplies for Washing Dishes While Camping?
Before diving into the washing process, gather these camp kitchen essentials. Having the right gear makes dishwashing faster and more effective:
Basic Dishwashing Kit:
- 3 collapsible basins or large pots
- Biodegradable camping soap (Campsuds, Dr. Bronner’s, or Sea to Summit)
- Scrub sponge with abrasive side for tough spots
- Quick-dry microfiber towels (pack at least two)
- Rubber spatula or camp scraper for food removal
- Water purification tablets or a small bottle of bleach for sanitizing
- Lightweight camp stove for heating water quickly
Pro-Level Additions:
- Collapsible strainer for catching food particles
- Insulated rubber gloves for handling hot water safely
- Mesh drying rack that packs flat
- Small bottle brush for narrow-mouth water bottles
- Dedicated gray water disposal container
Smart Packing Tips: Nest your collapsible basins inside each other with cleaning supplies tucked inside. This saves space and keeps everything organized. Pack soap in a leak-proof container to avoid messy spills in your gear bag.
Choose biodegradable soap specifically designed for camping. These soaps break down naturally without harming plants or wildlife, even when disposed of 200+ feet from water sources. Regular dish soap can damage ecosystems and may not work as well in cold mountain water.
The Three-Bucket Method: Step-by-Step Guide
This proven system makes washing dishes while camping efficient and thorough. Used by outdoor professionals and Leave No Trace educators, it ensures clean dishes while protecting the environment.
Bucket Setup:
- Bucket 1 – Cold Rinse (Funk Bucket): Fill with cold water for initial food scrap removal
- Bucket 2 – Hot Wash: Mix hot water with biodegradable soap (use sparingly – a few drops go far)
- Bucket 3 – Hot Rinse/Sanitize: Clean hot water with sanitizing solution
Detailed Step-by-Step Process:
Step 1: Scrape and Pre-Clean. Before anything touches water, scrape dishes completely clean with a rubber spatula or camp scraper. Get every bit of food, sauce, and grease. This single step prevents your wash water from becoming a greasy mess and makes everything else work better. For stuck-on food, use a small amount of sand as an abrasive on metal cookware only.
Step 2: Cold Rinse (The Funk Bucket) Give dishes a quick swish in the cold rinse bucket to remove any remaining particles. This bucket will get nasty – that’s its job. Don’t spend much time here; just knock off the loose bits before moving to the wash bucket.
Step 3: Hot Soapy Wash. This is where the real cleaning happens. Start with your cleanest items (cups, spoons, bowls) and work toward the dirtiest (frying pans, spatulas). Use a sponge with both soft and scrubby sides. The hot water combined with biodegradable soap cuts through grease and kills most bacteria.
Pro tip: Keep your wash water hot by covering the bucket with a pot lid between items. Cold soapy water does not clean as well.
Step 4: Hot Rinse and Sanitize. Move washed dishes to the rinse bucket. For the sanitizing solution, add either purification tablets or 1 capful of unscented bleach per gallon of water. Let dishes sit in this solution for 30-60 seconds for proper sanitization.
Step 5: Air Dry on a Clean Surface. Set dishes on a clean camp towel or mesh drying rack. Air drying prevents recontamination and is more sanitary than towel drying. In humid conditions, use a quick-dry towel for final drying to prevent water spots.
Water Conservation Tricks:
- Rinse multiple items in each bucket before moving to the next step
- Use minimal soap – more isn’t better and makes rinsing harder
- Save the hottest water for the greasiest pans
- Heat only what you need to avoid waste
Suggested Reads- How to Clean a Cast Iron Skillet While Camping
Alternative Methods for Washing Dishes While Camping
Two-Bucket System for Backpackers: When carrying every ounce matters, combine steps into two buckets. Use a separate one with soap for washing, the other with clean water for rinsing. While less thorough than three buckets, this method works well for lightweight titanium camping cookware and short trips. Put in extra effort when scrubbing since the system is minimal.
Minimalist Single-Pot Method: For ultralight adventures, design your menu around single-pot meals that create minimal dishes. A lightweight titanium spork, collapsible bowl, and one cooking pot might be all you need. Cook pasta, then eat directly from the pot. Make coffee in the same pot after a quick rinse. This approach eliminates most dishwashing.
Desert and Water-Scarce Camping: When water is extremely limited, adapt your cleaning method:
- Use wet wipes designed for camping (pack them out completely)
- Clean metal cookware with fine sand as an abrasive, then wipe clean
- Pre-wipe dishes with paper towels before any water cleaning
- Use minimal water for a quick sanitizing rinse only
- Consider disposable plates and utensils for very dry environments (pack out all trash)
Winter Camping Dish Washing Cold weather creates unique challenges for washing dishes while camping:
- Heat extra water since it cools quickly in freezing temperatures
- Work inside a tent vestibule or under a tarp to block wind
- Protect your hands with insulated gloves while working with hot water to prevent frostbite.
- Don’t let wash water freeze in buckets – it expands and can crack containers
- Dry dishes completely before packing to prevent them from freezing together
Stream-Side Method (Use Sparingly) In flowing water with biodegradable soap only, and 200+ feet from any water source others might use:
- Fill containers with stream water rather than washing in the stream directly
- Use minimal soap and work quickly
- Save this method for fast-flowing water only, never lakes or slow streams
- Never use this method in fragile alpine environments
Group Cooking Assembly Line For large groups (6+ people), set up multiple wash stations:
- Assign roles: scrapers, washers, rinsers, and dryers
- Use larger containers or multiple three-bucket setups
- Rotate duties daily to share the workload
- Wash dishes in batches by type (all cups first, then bowls, then pots)
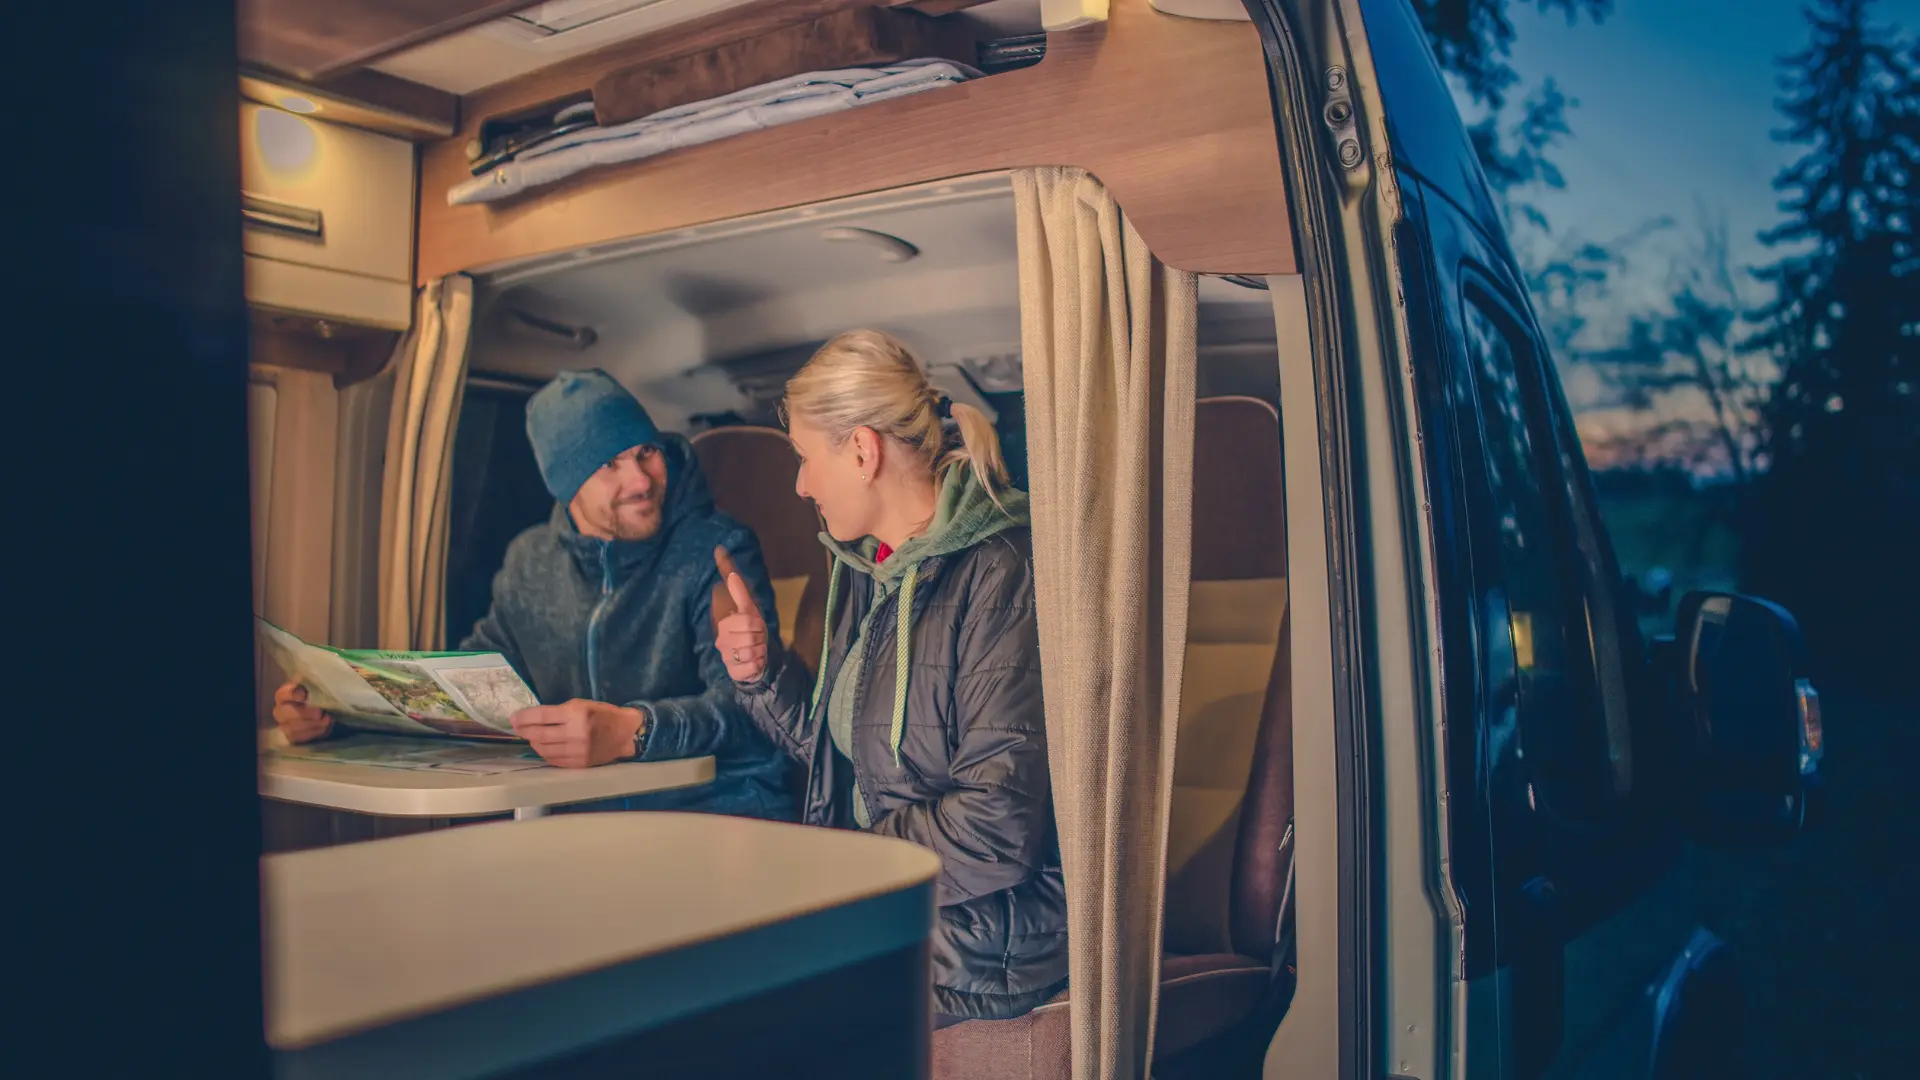
RV and Car Camping Luxury Method When vehicle access allows, upgrade your setup:
- Bring a portable camp kitchen with built-in sinks
- Use a gravity-fed water system for continuous hot water
- Set up a dedicated dish washing station with proper lighting, ideally on one of the camping tables you already have for meal prep, so cleanup stays organized in the same space.
- Include a drying rack and storage system for clean dishes
Emergency No-Container Method: If you lose your wash buckets, improvise with available gear:
- Use stuff sacks lined with plastic bags as wash basins
- Clean dishes one at a time in your largest pot
- Use a clean bandana as a scrubbing cloth
- Sanitize with boiling water poured over clean dishes
Hot Water Method for Washing Dishes
Hot water is your secret weapon for washing dishes while camping effectively. It cuts through grease like nothing else and kills bacteria that cold water leaves behind. Master these hot water techniques to make dishwashing faster and more effective.
Advanced Heating Strategies: Start heating water while you eat dinner so it’s ready when you finish. Use a lightweight pot with a wide bottom for faster heating – wider surface area means quicker boiling. Cover the pot to retain heat and speed up the process by up to 30%. In windy conditions, use a windscreen around your stove or build a rock barrier to prevent heat loss.
Multi-Stage Water Heating: Warm the water gradually to make the process more efficient. Start with 1-2 quarts for initial cleaning, then heat additional water as needed. This prevents waste and ensures you always have hot water available. Keep a second pot warming on low heat while using the first batch.
Temperature Control Mastery: Check the water’s heat by dipping your elbow or splashing a little on your wrist before washing dishes. Water should be uncomfortably hot for your hands but not scalding – around 120-130°F is ideal. Too hot, and you’ll rush through cleaning; too cool, and grease won’t dissolve effectively. Mix boiling water with cold water in a 2:1 ratio for perfect washing temperature.
Heat Retention Techniques: Cover wash buckets with pot lids, camp towels, or even your puffy jacket to maintain temperature. Wrap buckets in sleeping pads or extra clothing for insulation. Pour hot water into buckets gradually rather than all at once to maintain heat longer. In cold weather, warm the buckets first with hot water, dump it out, then add fresh hot water for washing.
Fuel Conservation Methods: Keep water hot for hours with an insulated container or pot cozy. You can easily make one from an old fleece or a trimmed foam sleeping pad. Heat only what you need – usually 2-3 quarts total for wash and rinse water. Plan your hot water usage: wash dishes first, then use remaining hot water for hot drinks or tomorrow’s oatmeal.
Cold Weather Optimization: In freezing conditions, pre-warm your washing area by setting up near your stove or inside a tent vestibule. Use a larger pot to heat more water at once since it cools faster in cold air. Keep backup water bottles inside your sleeping bag so they don’t freeze overnight. Consider using a thermos to store pre-heated water for morning cleanup.
Emergency Hot Water Alternatives: If your stove fails, heat water using solar heating in black containers during sunny weather. Use hand warmers to gradually warm small amounts of wash water. In extreme emergencies, use body heat to warm water bottles inside your jacket, though this takes considerable time.
Safety and Efficiency Tips: Keep insulated gloves handy for handling very hot containers and water. Never pour boiling water directly onto plastic dishes – it can warp them and create dangerous splashing. Use a large spoon or ladle to transfer hot water safely between containers. Set up your washing station before heating water to avoid wasting heat while organizing.
Special Considerations for Different Camping Styles
Car Camping: You can bring larger wash basins and more supplies. Consider a portable camp sink or collapsible wash station for added convenience, and make the most of simple car camping hacks that help organize your cooking and cleaning setup more efficiently.
Backpacking: Every ounce counts. Lightweight titanium or aluminum cookware is easier to clean and pack. Single-wall pots heat faster but require careful temperature control.
RV Camping: Use your RV’s kitchen sink when possible, but still follow Leave No Trace principles when disposing of gray water.
Common Mistakes to Avoid When Washing Dishes While Camping?
Skipping the Sanitizing Step:
Don’t skip sanitizing, especially in warm weather when bacteria multiply rapidly. Many campers think soap and hot water are enough, but harmful bacteria can survive on seemingly clean dishes. A 2019 study found that dishes washed without sanitizing carried 40% more harmful bacteria than properly sanitized ones. Damp dishes left without proper sanitizing become breeding grounds for illness-causing microorganisms that can ruin your trip within hours.
Using Too Much Soap Creates More Problems:
More soap doesn’t mean cleaner dishes – it actually makes the job harder. Excess soap creates thick suds that require more water to rinse off, wasting your precious water supply. Over-soaping also makes dishes slippery and dangerous to handle, especially when washing sharp knives or hot pots. Use just 2-3 drops of concentrated biodegradable soap per quart of wash water – you’ll be amazed how little you actually need.
Wrong Water Temperature Ruins Everything:
Using cold water is not effective for dissolving grease, which results in a residue on dishes that can contain bacteria. But water that’s too hot (above 140°F) can warp plastic dishes, burn your hands, and make you rush through cleaning. Many campers make the mistake of using lukewarm water, thinking it’s safer, but lukewarm water is the worst of both worlds, providing neither effective cleaning nor comfort. Find the sweet spot around 120-130°F where water is uncomfortably hot but manageable.
Cleaning in the Wrong Order Wastes Effort:
Starting with the greasiest pan immediately contaminates your wash water, making it nearly impossible to get cups and utensils truly clean. Experienced campers always wash from cleanest to dirtiest: cups first, then bowls and utensils, followed by plates, and finally the greasiest cooking pots. This single change can make your washing water last twice as long and get everything much cleaner.
Improper Drying Methods Recontaminate Clean Dishes:
Using the same towel for drying dishes that you use for hands, faces, or other camp tasks recontaminates clean dishes with bacteria. Many campers also make the mistake of drying dishes inside their tent, where moisture can’t escape, creating perfect conditions for bacterial growth. Air drying on a clean surface is always best, but if you must towel dry, use a dedicated clean dish towel that you wash regularly and never use for anything else.
The Overnight Disaster:
Leaving dirty dishes until morning is one of the worst mistakes in camping. Food residue hardens into cement-like substances that require aggressive scrubbing and extra water to remove. Overnight, bacteria multiply exponentially, and food smells attract wildlife that can destroy your campsite or injure campers. Even “quick” cleanups in the morning take three times longer than washing dishes immediately after eating.
Contaminating Water Sources:
Many well-intentioned campers think washing dishes in a flowing stream with biodegradable soap is environmentally friendly. This is completely wrong – even biodegradable soap disrupts aquatic ecosystems and contaminates water sources for wildlife and downstream campers. The soap doesn’t magically disappear; it takes days or weeks to break down, during which it can harm fish and water insects that other animals depend on.
Inadequate Food Scraping Wastes Everything:
Rushing through the scraping step wastes soap, water, and time. Food particles clog your wash water immediately and make effective cleaning impossible. Use a rubber spatula or dedicated scraper to remove every visible bit of food, sauce, and grease before dishes touch water. Spend an extra minute scraping thoroughly, and you’ll save five minutes on the actual washing.
Temperature Shock Damage:
Plunging cold metal cookware into boiling water can cause warping and handle loosening. Similarly, shocking hot pans with cold rinse water can damage non-stick coatings and create dangerous steam. Let cookware cool slightly before washing, and use graduated water temperatures rather than extreme changes.
Neglecting Wind and Weather:
Failing to take wind direction into account when arranging your wash station results in soap mist, water spills, and unhappy campers. Wind also cools hot water rapidly and blows lightweight items around. Set up your washing area in a sheltered spot or use your body and gear to create a windbreak. In the rain, work under a tarp or in a tent vestibule to keep everything dry and organized.
Maintaining Your Camp Kitchen Setup
Advanced Organization Systems:
Create a complete dishwashing kit using a dedicated stuff sack or waterproof dry bag in bright orange or yellow so you can spot it easily in low light conditions. Pack items in order of use with a logical system: scraper and soap on top for immediate access, then sponges and towels in the middle, with collapsible buckets nested on the bottom. Include a small mesh bag inside for wet items that need air circulation while traveling.
Deep Cleaning Your Cleaning Gear:
Your cleaning tools need more attention than most campers realize. Sponges harbor millions of bacteria even after normal use – rinse them thoroughly after each meal, then squeeze out excess water and sprinkle with a small amount of salt to kill bacteria naturally. Keeping waste under control is just as important. Pack one of the collapsible garbage cans designed for camping to manage food scraps and dirty paper towels without creating a mess.
In humid conditions, add a few drops of hand sanitizer to damp sponges to prevent bacterial growth during storage. Replace sponges every 3-4 camping trips or immediately if they develop an odor.
Professional Drying and Storage Techniques:
Proper drying prevents equipment failure and extends gear life significantly. Always turn collapsible buckets inside-out to dry all surfaces completely – trapped moisture in folds creates mildew and weakens silicone. Hang microfiber towels separately on a line or clip them to pack straps during travel for continuous air drying. Never stuff damp towels into tight spaces where they can’t breathe.
Preventive Maintenance for Longevity:
Collapsible silicone gear lasts much longer with proper care. Avoid extreme temperature shock by never pouring boiling water directly into buckets – let water cool to 140°F first. When folding buckets for storage, don’t crease them along the same lines repeatedly; vary the fold pattern to prevent stress cracks. Store buckets loosely folded rather than compressed tightly, which can damage the silicone over time.
Seasonal Deep Maintenance Routines:
After each camping season, give your entire dish kit a thorough professional-level cleaning. Wash everything in hot soapy water at home, rinse completely, then sanitize with a 10% bleach solution (1 part bleach to 9 parts water). Let everything air dry for 24 hours before storage. Check carefully for wear spots, cracks, or damage that could fail in the field.
Smart Replacement and Backup Systems:
Keep a replacement schedule based on usage intensity. Heavy campers (20+ nights per year) should replace sponges monthly and towels annually. Casual weekend campers can use sponges for a full season if properly maintained. Always carry one backup collapsible bucket – they’re light and pack small, but a leak in the field can ruin your entire dishwashing system.
Field Repair and Emergency Fixes:
Learn to repair gear in the field using items you’re already carrying. Small holes in silicone buckets can be temporarily sealed with duct tape applied to both sides when the bucket is completely dry. If a sponge falls apart, use a clean sock or bandana as a scrubber. Missing soap? A small amount of toothpaste (not gel) works as emergency dish soap and has antibacterial properties.
Climate-Specific Storage Adaptations:
Adjust your maintenance routine based on where you camp. In humid environments, include moisture-absorbing silica gel packets in your dish kit storage. Desert campers should rinse gear frequently to remove abrasive dust that wears down materials. Cold-weather campers need to check for damage from freeze-thaw cycles that can crack plastic components.
Inventory and Resupply Management:
Keep a simple checklist of your dish kit contents and check it before each trip. Include expiration dates for soap and sanitizing tablets – expired products may not work effectively. Maintain a resupply system at home with backup supplies ready to grab for your next adventure. Consider keeping a “mini dish kit” in your vehicle for day trips that might extend overnight.
Conclusion
Mastering how to wash dishes while camping transforms one of the most dreaded camp chores into a quick, efficient process. The three-bucket method, combined with biodegradable soap and proper gray water disposal, keeps you healthy while protecting the environment.
Remember, the key to successful camp dishwashing lies in preparation and the right technique. Scrape dishes immediately, use hot water, and follow Leave No Trace principles. With practice, you’ll have clean dishes and be back to enjoying your outdoor adventure in no time.
The wilderness offers incredible experiences, but they’re even better when you’re not worried about dirty dishes piling up. Invest in a good dishwashing system, practice at home, and you’ll tackle camp cleanup like a pro on your next adventure.
Frequently Asked Questions
How much water do I need for washing dishes while camping?
Plan on 2-3 gallons total for washing dishes for 4 people using the three-bucket method. Each bucket should be filled to about the halfway mark, approximately 2-3 quarts per bucket. Start with less water and add more if needed to conserve your supply. In water-scarce environments, you can get by with as little as 1 gallon total by using the two-bucket method and being more selective about what needs washing.
What’s the best way to sanitize dishes while camping?
Once you’ve washed and rinsed the dishes, sanitize them in hot water using either purification tablets or unscented bleach (1 tablespoon for every gallon of rinse water). Let dishes sit in the sanitizing solution for 30-60 seconds, then air dry completely. Letting air dry is a more hygienic option than using towels since it avoids the risk of recontamination from unclean towels.
Is it acceptable to use standard dish soap for cleaning dishes while camping?
No, always use biodegradable camping soap like Campsuds, Dr. Bronner’s, or Sea to Summit soap. Regular dish soap doesn’t break down naturally and can harm plants and wildlife even when disposed of properly 200+ feet from water sources. Biodegradable soaps are also formulated to work better in cold mountain water.
How do I dispose of gray water after washing dishes while camping?
First, strain all food particles from the wash water using a fine mesh strainer and pack these solids out with your trash. Then scatter the strained gray water over a wide area at least 200 feet from water sources, trails, and your campsite. Some established campgrounds have designated gray water disposal sites – check with campground hosts about proper disposal methods.
What should I do if I don’t have access to hot water for washing dishes while camping?
While hot water is ideal, you can still wash dishes effectively with cold water by using more elbow grease and extra scrubbing time. Add a bit more biodegradable soap to help cut through grease, and consider using sand as an abrasive on metal cookware. Pre-scraping dishes becomes even more critical with cold water since you won’t get the grease-cutting power of heat.